instruction manual for white sewing machine
Welcome to the White Sewing Machine instruction manual, your guide to unlocking the full potential of your device. Explore versatile models like White 710, 1418, and 1477, designed for precision and creativity. Whether you’re a beginner or an experienced sewer, this manual offers comprehensive insights to enhance your sewing experience with step-by-step instructions and troubleshooting tips. Discover how to operate, maintain, and optimize your machine for various projects, ensuring smooth and professional results every time.

Overview of the White Sewing Machine Models
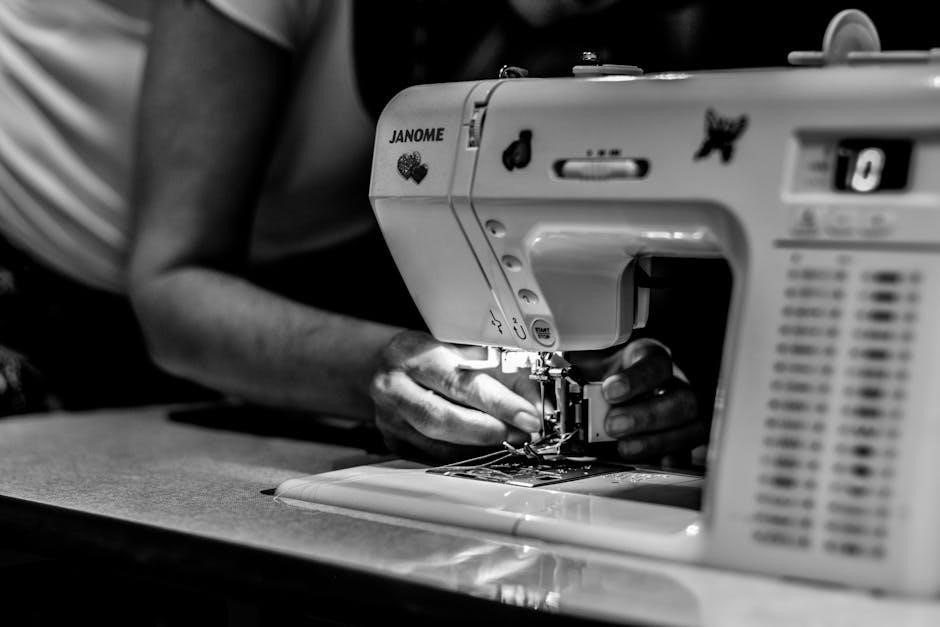
The White Sewing Machine lineup includes a variety of models designed to meet different sewing needs, from basic to advanced projects. Popular models like the White 710, 1418, 1477, and 1425 offer versatile stitching options and user-friendly interfaces. The White SuperLock series, including the 1788, is known for its overlock capabilities, ideal for professional-grade sewing. Each model is tailored to specific tasks, whether it’s general sewing, heavy-duty fabrics, or specialized techniques like free-arm sewing. These machines are built with durability and precision, ensuring consistent results. For detailed specifications and operation guides, refer to the respective manuals available for download, which provide in-depth insights into each model’s features and capabilities.
Key Features and Benefits
White Sewing Machines are renowned for their versatility and durability, offering a range of features to cater to both beginners and experienced sewers. Models like the White 710 and 1418 boast multiple stitch options, including straight, zigzag, and decorative stitches, allowing for diverse sewing projects. The free-arm design enables easy sewing of hard-to-reach areas such as cuffs and trouser legs. Many models feature automatic threading systems and adjustable tension controls, ensuring precise stitching and reducing fabric waste. The White SuperLock series, like the 1788, provides overlock capabilities for professional-grade finishes; These machines are built to handle various fabrics, from delicate linens to heavy-duty materials, making them ideal for both home use and small-scale commercial projects. Their robust construction and user-friendly interfaces ensure long-lasting performance and ease of operation, making them a reliable choice for sewers of all skill levels.
Quick Start Guide
Getting started with your White Sewing Machine is simple and straightforward. First, carefully unpack the machine and ensure all accessories, such as the power cord, needles, and bobbins, are included. Place the machine on a stable, flat surface and plug it in. For models like the White 710 and 1418, begin by threading the machine according to the diagram provided in the manual. Wind the bobbin and insert it into the bobbin case, making sure it is properly seated. Select the desired stitch type using the dial or button controls, depending on your model. Finally, test the machine by sewing a scrap piece of fabric to ensure everything is working smoothly. Always consult the specific manual for your machine model, as features may vary. Start with simple projects to build confidence and gradually explore more complex stitching options.
Safety Precautions and Setup
Always ensure the machine is placed on a stable, flat surface and keep loose clothing tied back. Avoid operating near children or flammable materials. Never touch electrical components with wet hands. Ensure proper ventilation and keep the area clear of debris. Follow setup instructions carefully to prevent accidents and maintain optimal performance.
General Safety Guidelines
Always prioritize safety when operating your White sewing machine. Ensure the machine is placed on a stable, flat surface and keep the area clear of debris. Avoid operating the machine near children or flammable materials. Never touch electrical components with wet hands or while standing on a damp surface. Keep loose clothing and long hair tied back to prevent accidents. Ensure proper ventilation by keeping the machine’s air openings free from dust or blockages. Use only genuine White accessories and follow the recommended needle types to avoid damage. Unplug the machine when not in use or during maintenance. Handle needles and sharp objects with care to prevent injuries. Regularly inspect the power cord and plug for damage. Consult the manual for specific safety instructions tailored to your machine model.
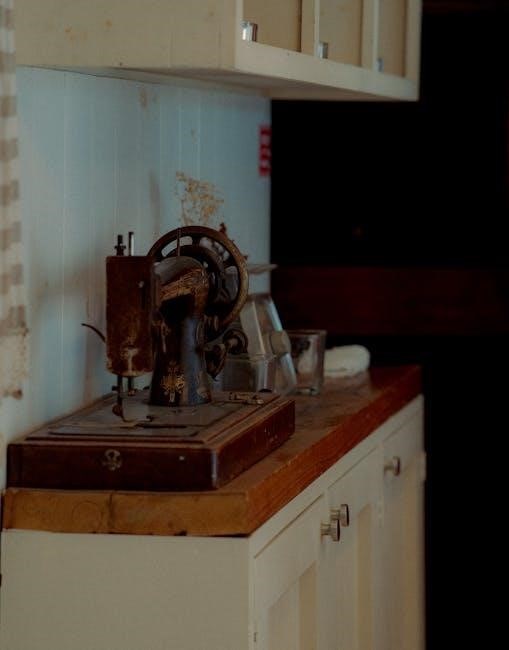
Unpacking and Initial Setup
Unpacking your White sewing machine is an exciting first step. Carefully remove the machine from its box and inspect for any damage. Ensure all accessories, such as bobbins, needles, and the power cord, are included. Place the machine on a stable, flat surface, away from direct sunlight. Plug in the power cord and familiarize yourself with the control panel and basic components. For models like the White Rotary 41, locate the handwheel and stitch selectors. Read the manual thoroughly to understand the machine’s features. Check if the needle is pre-installed and ensure the bobbin is correctly wound. Test the machine on scrap fabric before starting your first project. Proper setup ensures smooth operation and optimal performance for your sewing projects.
Electrical Safety Tips
Ensuring electrical safety is crucial when using your White sewing machine. Always keep the machine away from water and moisture to prevent electrical shocks. Use the power cord provided and avoid damaged or frayed cords, as they can cause hazards. Never operate the machine near flammable materials or in areas with poor ventilation. Keep children away from the machine when it is plugged in. Unplug the machine when not in use or during maintenance. Check for overheating and ensure all ventilation openings are clear of debris. Follow the manufacturer’s guidelines for electrical connections and usage. Do not overload circuits with multiple high-power devices. By adhering to these safety precautions, you can enjoy a safe and efficient sewing experience with your White sewing machine.
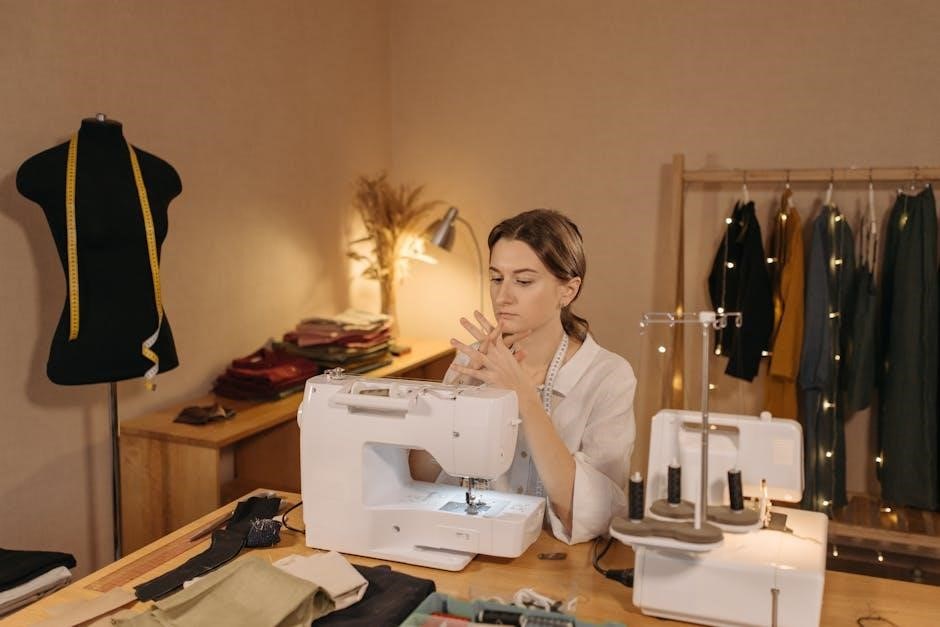
Understanding the Machine Components
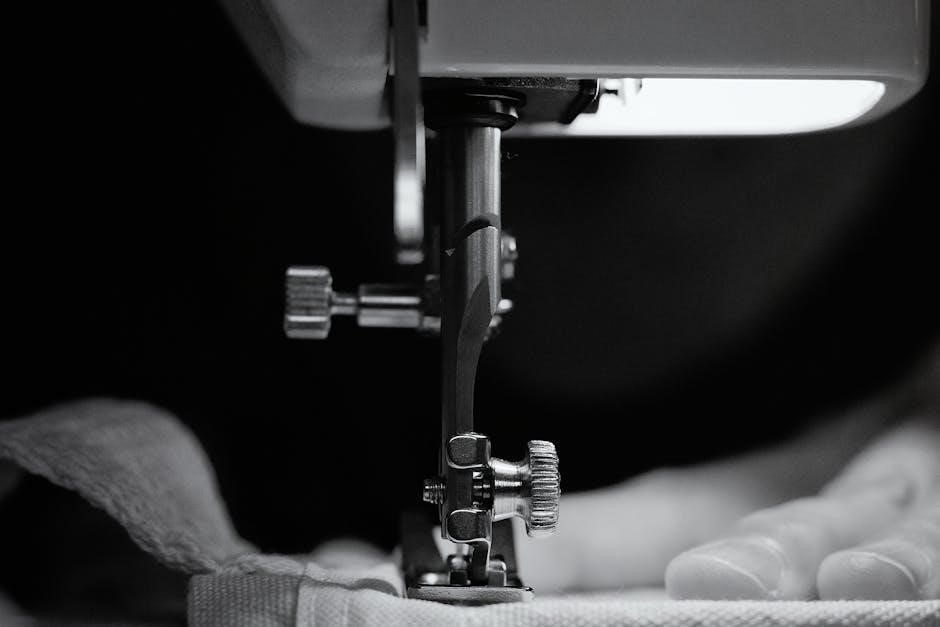
Familiarize yourself with your White sewing machine’s components, including the power cord, foot pedal, stitch selector, bobbin winder, and presser feet. Understanding these parts ensures proper operation and enhances your sewing experience.
Identifying Parts and Accessories
Understanding your White sewing machine’s components is essential for effective operation. Locate the power cord, foot pedal, and stitch selector, which control the machine’s basic functions. The bobbin winder, tension dials, and presser feet are crucial for thread management and fabric handling. Accessories like extra needles, bobbins, and presser feet (e.g., zipper or buttonhole feet) expand your sewing capabilities. Refer to the diagram in your manual to identify each part accurately. Familiarize yourself with the free-arm feature, ideal for sewing cuffs or trouser legs. Properly identifying and using these components ensures optimal performance and prevents damage to your machine. Take time to explore each accessory and its purpose to maximize your sewing experience. Always store accessories in a safe place to avoid loss or damage. Regularly clean and maintain parts like the bobbin case and feed dogs for smooth operation.
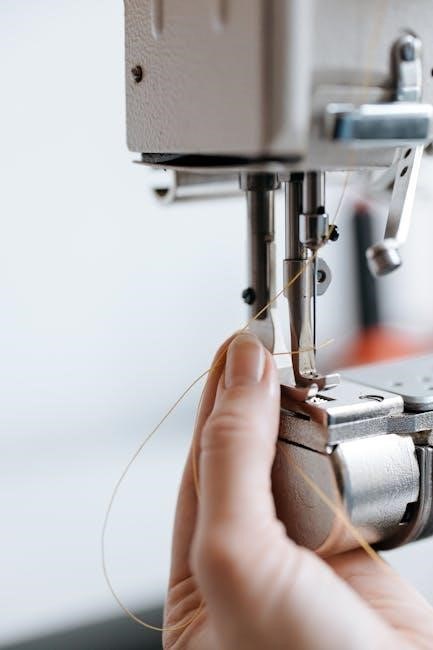
Threading the Machine
Proper threading is crucial for smooth operation. Begin by turning off the machine and ensuring the presser foot is raised. Locate the spool pin and thread guide. Gently pull the thread through the tension discs and take-up lever, following the manual’s diagram for your specific model (e.g., White 710 or 1418). Wind the bobbin separately, ensuring it is evenly filled. Insert the bobbin into the bobbin case, leaving a small thread tail. Thread the machine’s lower part by pulling the bobbin thread through the stitch plate opening. Always use high-quality thread suitable for your fabric type. Avoid over-tightening, as this can damage the machine. Test the thread tension by sewing a few stitches on scrap fabric. Proper threading ensures consistent stitch quality and prevents issues like thread breakage or uneven tension. Refer to your manual for model-specific threading guidelines.
Winding and Installing the Bobbin
To wind the bobbin, start by cutting a piece of thread and inserting one end into the bobbin’s hole. Place the bobbin on the winder and turn the handwheel clockwise to wind the thread evenly. Stop when the bobbin is about 80% full. Trim the excess thread, leaving a small tail. For installation, lift the presser foot and locate the bobbin case. Insert the bobbin into the case, ensuring the thread unwinds clockwise. Pull the thread gently to seat the bobbin properly. Close the bobbin case and guide the thread through the stitch plate opening. Always use the same type of thread for the bobbin as the top thread. Avoid overfilling the bobbin, as this can cause tangling or uneven stitching. Test the bobbin tension by sewing a few stitches on scrap fabric to ensure smooth operation. Proper bobbin installation is essential for balanced stitches and trouble-free sewing.
Basic Sewing Operations
Select the right stitch type for your project, from straight stitch to zigzag, ensuring optimal results for various fabrics. Use the free-arm feature for sewing cuffs, trouser legs, and other hard-to-reach areas effortlessly.
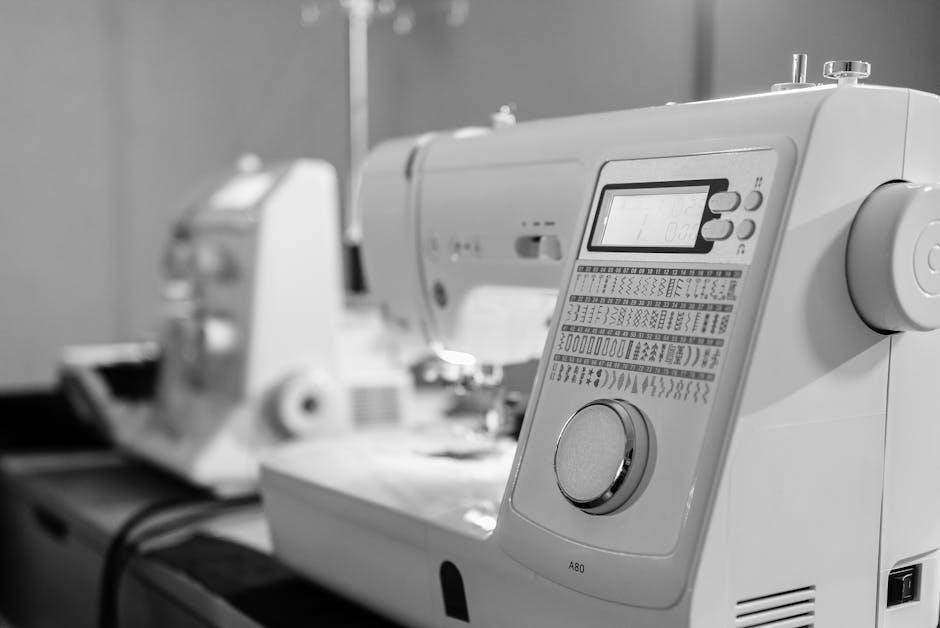
Selecting the Right Stitch Type
Selecting the appropriate stitch type is crucial for achieving professional results. The White sewing machine offers a variety of stitches, including straight, zigzag, and decorative options. For standard sewing tasks, the straight stitch is ideal for straight seams and repairing. The zigzag stitch is perfect for stretchy fabrics, preventing tears and providing flexibility. Decorative stitches add a creative touch for embellishments or custom designs. Always consult the stitch chart in your manual to choose the best option for your fabric type and project. Use the free-arm feature for sewing cuffs or trouser legs with ease. Adjust stitch length and width as needed for optimal results. Proper stitch selection ensures durability and a polished finish. Experiment with different settings to familiarize yourself with your machine’s capabilities and enhance your sewing experience.
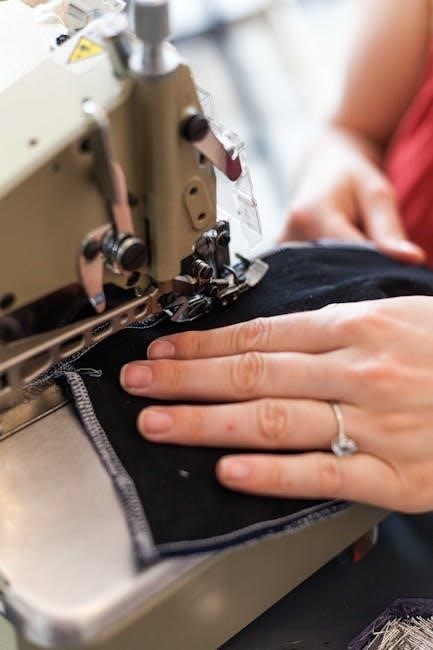
Sewing Fabric: Tips and Tricks
For successful sewing, it’s essential to match your fabric type with the appropriate machine settings. Start by pre-washing and drying your fabric to remove shrinkage and sizing. Use the correct needle type, such as sharp needles for woven fabrics or ballpoint needles for knits. Always stabilize delicate or stretchy fabrics with interfacing or stabilizer. Adjust the tension settings based on fabric thickness to avoid puckering or loose stitches. When sewing thick fabrics, use the free-arm feature for better control. For hard-to-reach areas like cuffs, utilize the free-arm sewing option. Keep the machine well-lubricated and clean to ensure smooth operation. Experiment with different stitch lengths and widths to achieve the desired results. Proper fabric handling and machine setup will ensure professional-looking seams and extend the life of your White sewing machine.
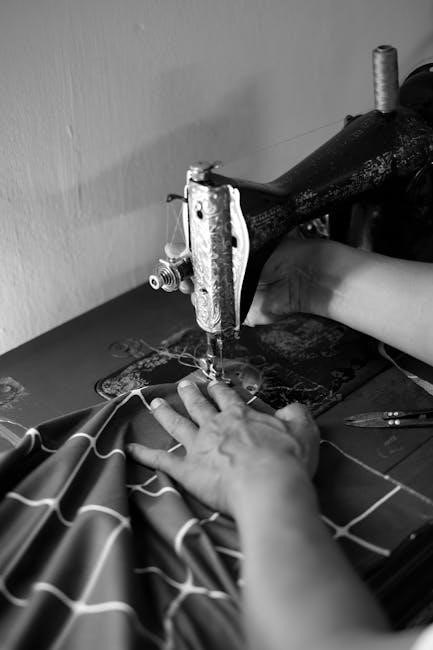
Free-Arm Sewing for Hard-to-Reach Areas
Free-arm sewing is a convenient feature of the White sewing machine, ideal for tackling hard-to-reach areas such as cuffs, trouser legs, and children’s clothing. To activate this feature, simply remove the extension table, converting the machine into a free-arm model. This setup allows you to easily maneuver fabric, ensuring precise stitching in tight spaces. Use the free-arm for delicate or curved seams, or when working with small projects like collars and sleeves. Always maintain gentle control over the fabric to prevent dragging or bunching. For best results, use the appropriate presser foot and adjust the stitch length and tension as needed. This feature enhances your sewing efficiency and accuracy, making it easier to handle complex or intricate designs with confidence.
Leave a Reply
You must be logged in to post a comment.